はじめに
モダンクラウド演習第二弾として、GCPを利用してCIを設定の設定を行いました
GCPはAWSに次ぐシェア2位のクラウドサービスになります
比較しやすいように今回もWordpressのCD環境を構築します
GCPにもAWSのCodeDeployのような機能が用意されていますが、設定方法はAWSとはかなり異なるものとなっています
ぜひ、前回の記事「モダンクラウド演習:AWSでCodeDeployを利用してWordPressを設置するまで」と比較しながら読んでいただければと思います
管理コンソールでのプロジェクト設定
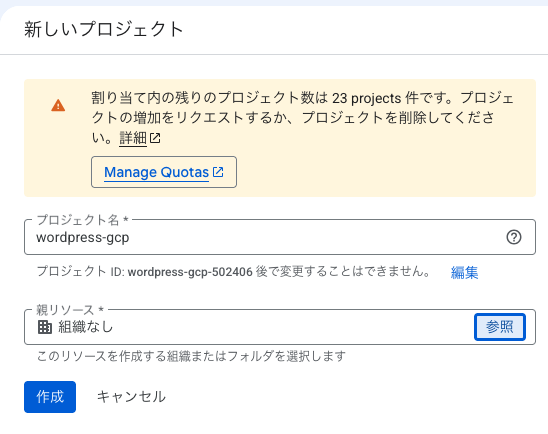
GCPではプロジェクトという単位で管理するため、wordpressのCD用のプロジェクトを作成します
IAMの設定
作業用にサービスアカウントを設定します
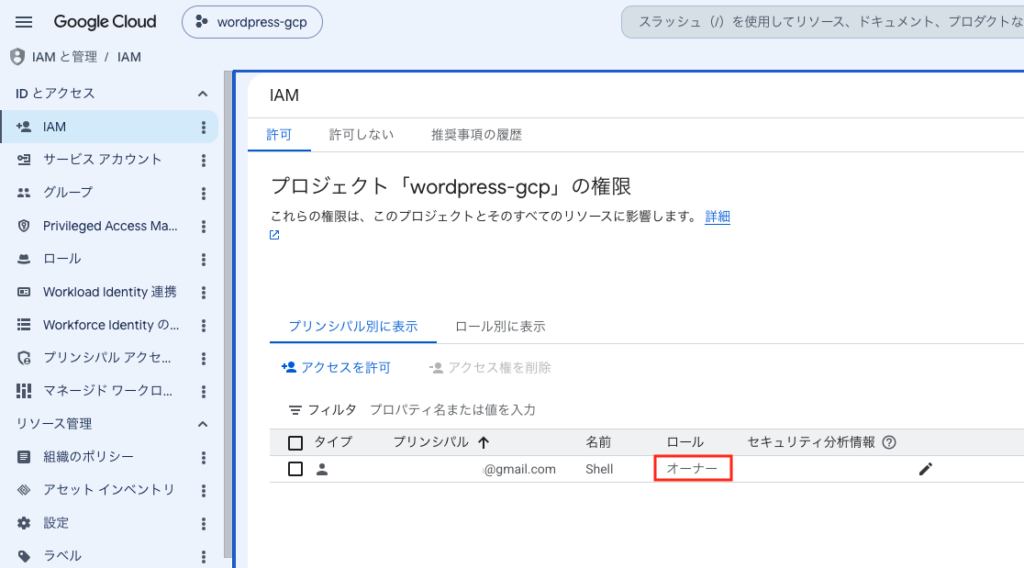
GCPはGoogleアカウントで利用もできますが、ロールが「オーナー」となっているため、権限が強すぎます
以下の方法でサービスアカウントを作成します
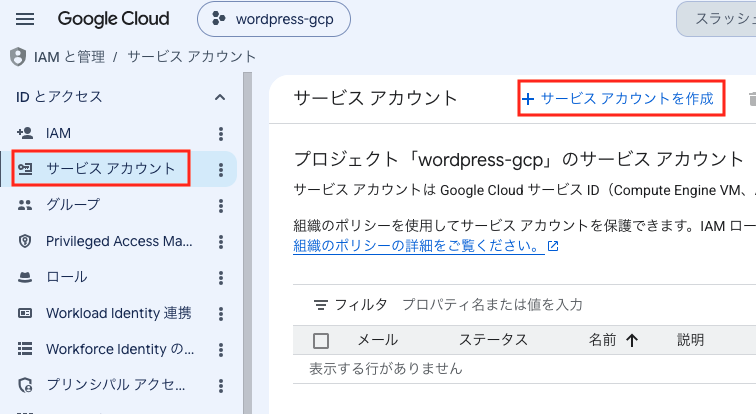
項目は以下として、他はデフォルトとしました
項目値サービスアカウント名:main-operator
サービスアカウントID:自動入力でOK
説明:任意
権限:編集者
アクセス権を持つプリンシバル:未入力
Compute Engineの作成
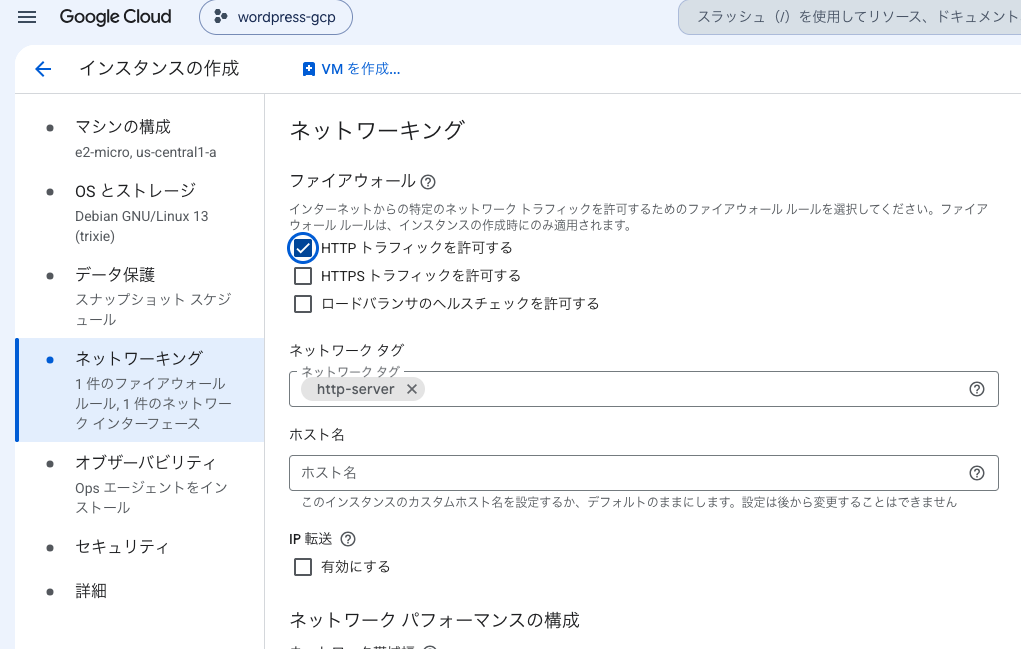
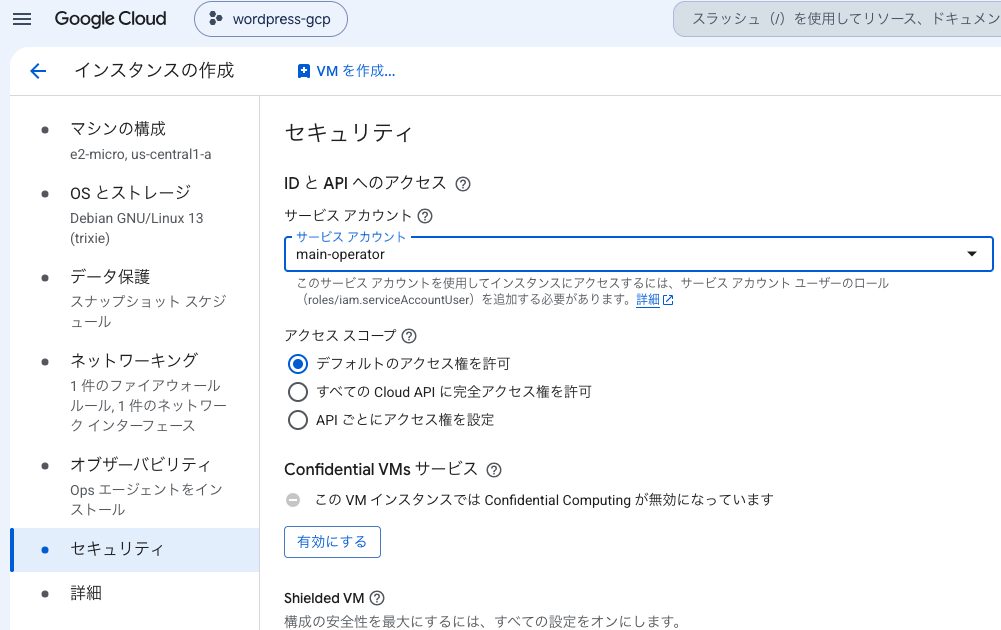
VMインスタンスを作成します
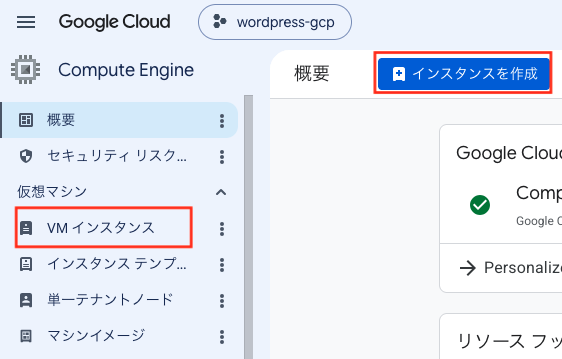
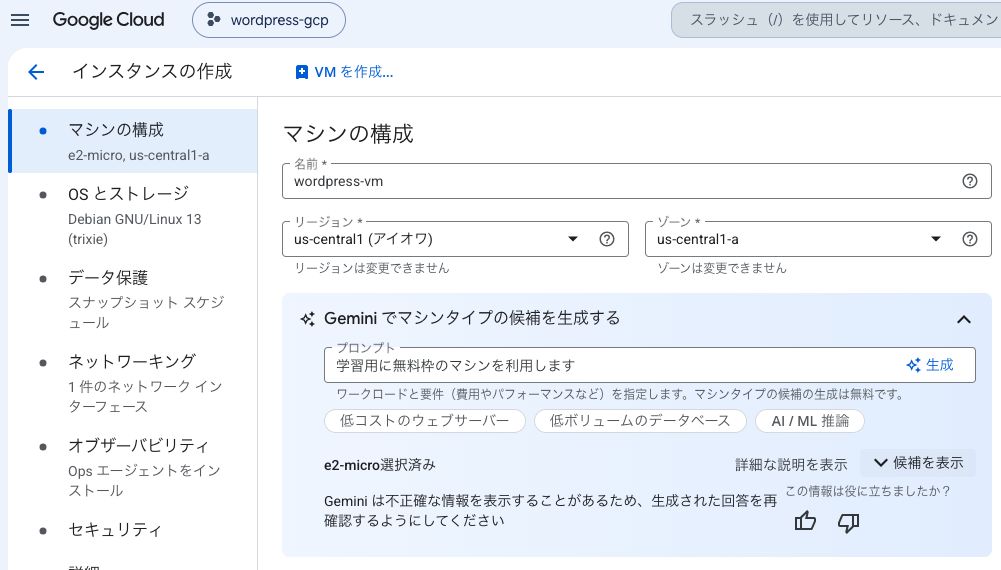
以下の設定を行い、他はデフォルトとしました
作成したVMマシンへSSH接続してみる
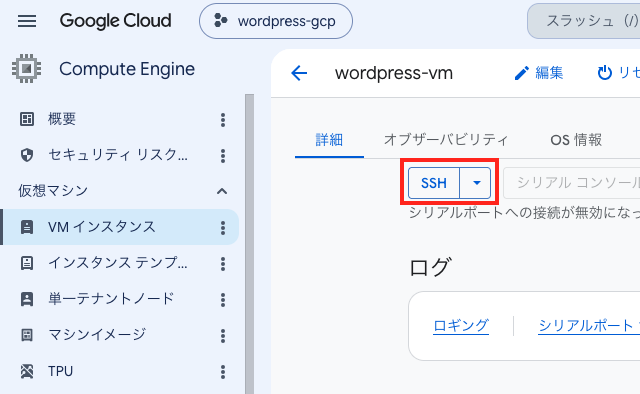
GCPではブラウザ上から手軽にSSH接続が行えます
LEMP環境を作成する
以下のコマンドでLEMP(Linux, NginX, MariaDB, PHP)環境を作成しました
(ちなみにphp^fpmはバージョン番号まで指定する必要があり、次の手順で修正版を載せています)
sudo apt update && sudo apt upgrade -y

sudo apt install -y nginx
sudo systemctl start nginx
sudo systemctl enable nginx

sudo apt install -y php php-fpm php-mysql php-gd php-xml php-mbstring php-json php-curl
sudo systemctl start php-fpm
sudo systemctl enable php-fpm

sudo apt install -y mariadb-server
sudo systemctl start mariadb
sudo systemctl enable mariadb
sudo mysql_secure_installation
php-fpmのインストール(修正版)は以下になります
php -v
sudo systemctl list-units | grep php

sudo systemctl start php8.4-fpm
sudo systemctl enable php8.4-fpm
MariaDBのインストールは以下のように実行しました
/usr/bin/mariadb-secure-installation

NOTE: MariaDB is secure by default in Debian. Running this script is
      useless at best, and misleading at worst. This script will be
      removed in a future MariaDB release in Debian. Please read
      /usr/share/doc/mariadb-server/README.Debian.gz for details.

Enter root user password or leave blank:

Enter current password for root (enter for none):
OK, successfully used password, moving on...

Setting the root password or using the unix_socket ensures that nobody
can log into the MariaDB root user without the proper authorisation.

You already have your root account protected, so you can safely answer 'n'.

Switch to unix_socket authentication [Y/n]
Enabled successfully (or at least no errors was emitted)!
Reloading privilege tables..
 ... Success!


You already have your root account protected, so you can safely answer 'n'.

Change the root password? [Y/n]
New password: <パスワードを入力>
Re-enter new password: <パスワードを入力>
Password updated successfully!
Reloading privilege tables..
 ... Success!


By default, a MariaDB installation has an anonymous user, allowing anyone
to log into MariaDB without having to have a user account created for
them.  This is intended only for testing, and to make the installation
go a bit smoother.  You should remove them before moving into a
production environment.

Remove anonymous users? [Y/n]
SQL executed without errors!
The operation might have been successful, or it might have not done anything.

Normally, root should only be allowed to connect from 'localhost'.  This
ensures that someone cannot guess at the root password from the network.

Disallow root login remotely? [Y/n]
SQL executed without errors!
The operation might have been successful, or it might have not done anything.

By default, MariaDB comes with a database named 'test' that anyone can
access.  This is also intended only for testing, and should be removed
before moving into a production environment.

Remove test database and access to it? [Y/n]
 - Dropping test database...
SQL executed without errors!
The operation might have been successful, or it might have not done anything.
 - Removing privileges on test database...
SQL executed without errors!
The operation might have been successful, or it might have not done anything.

Reloading the privilege tables will ensure that all changes made so far
will take effect immediately.

Reload privilege tables now? [Y/n]
 ... Success!

Cleaning up...

All done!  If you've completed all of the above steps, your MariaDB
installation should now be secure.

Thanks for using MariaDB!
WordPressを設置
WordPressの設置を行います
まずは準備として、MariaDBにデータベースを作成します
sudo mariadb -u root -p

CREATE DATABASE wordpress CHARACTER SET utf8mb4 COLLATE utf8mb4_unicode_ci;
CREATE USER 'wpuser'@'localhost' IDENTIFIED BY 'パスワード';
GRANT ALL PRIVILEGES ON wordpress.* TO 'wpuser'@'localhost';
FLUSH PRIVILEGES;
EXIT;
WordPress本体を設置します
cd /tmp
wget https://wordpress.org/latest.tar.gz
tar -xzf latest.tar.gz
sudo mv wordpress /var/www/html/
sudo chown -R www-data:www-data /var/www/html/wordpress
設定ファイルを作成します
sudo vi /etc/nginx/sites-available/wordpress

server {
    listen 80;
    server_name _;

    root /var/www/html/wordpress;
    index index.php index.html;

    location / {
        try_files $uri $uri/ /index.php?$args;
    }

    location ~ \.php$ {
        fastcgi_pass unix:/run/php/php8.4-fpm.sock;
        fastcgi_index index.php;
        fastcgi_param SCRIPT_FILENAME $document_root$fastcgi_script_name;
        include fastcgi_params;
    }

    location ~ /\.ht {
        deny all;
    }
}
NginXのデフォルト設定を無効化し、Wordpressの設定を有効化
sudo ln -s /etc/nginx/sites-available/wordpress /etc/nginx/sites-enabled/
sudo rm /etc/nginx/sites-enabled/default
NginXをリロードして設定を反映
sudo nginx -t
sudo systemctl reload nginx
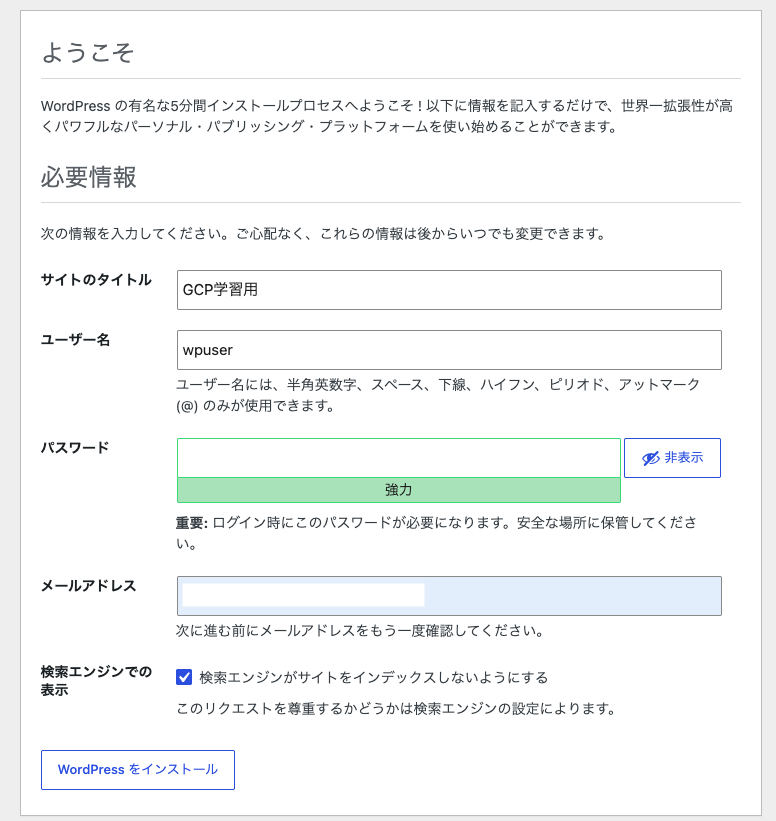
上記設定後、VMのIPアドレスにアクセスすることでWordpressのインストール画面が表示されます
以下はWordpressの設定例です
Cloud Buildの設定
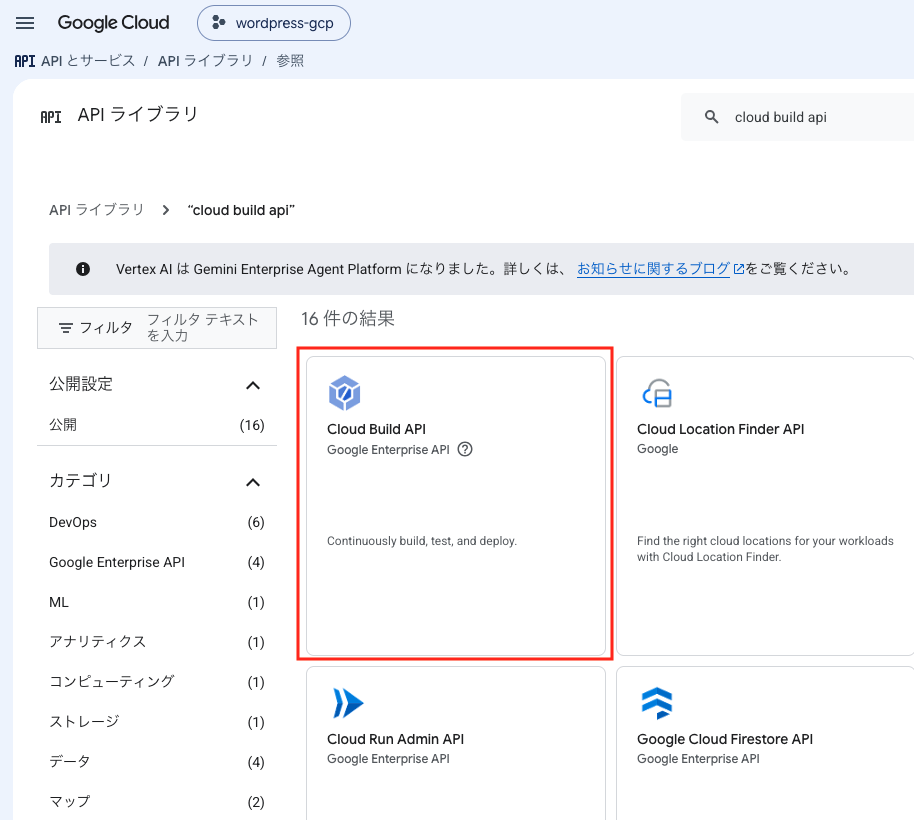
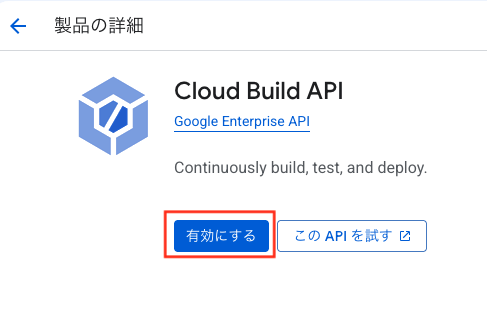
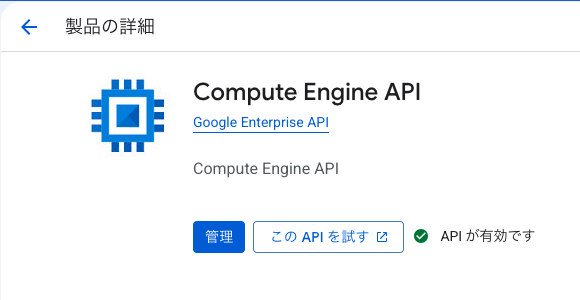
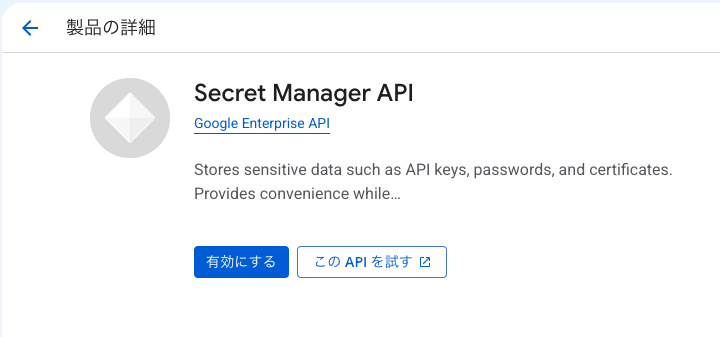
Cloud Buildを利用するため、以下のAPIを有効化しました
・Cloud Build API
・Compute Engine API
・Secret Manager API
Git Repository準備
以下の構成としました
wordpressのファイル群 + cloudbuild.yaml(cloud build構成ファイル)になっています
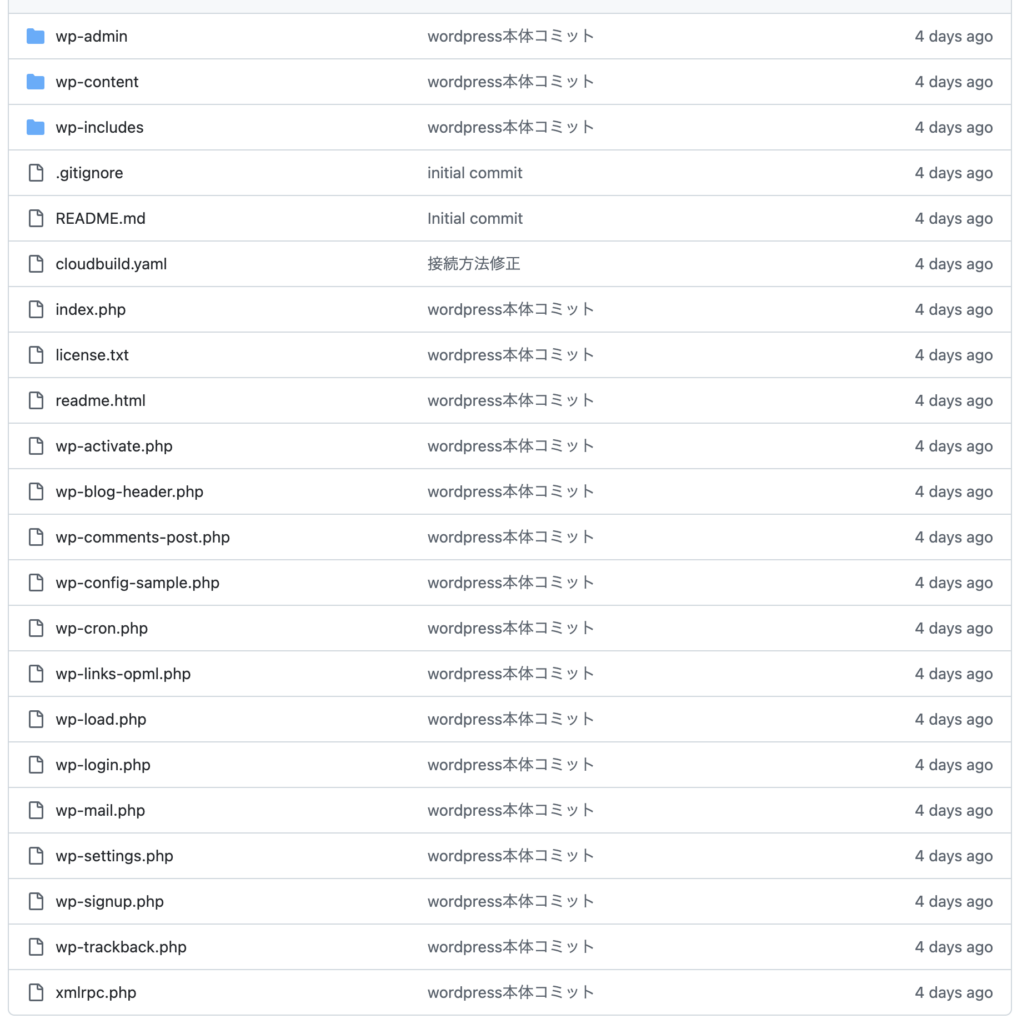
cloudbuild.yamlの内容は以下としました
(当初の設定ではwordpressをzip圧縮せずClaudStorageにアップしていましたが、ファイル数が多すぎて時間がかかったため、zip圧縮してからアップロードを行っています)
steps:
  # zipに圧縮してアップロード
  - name: "gcr.io/cloud-builders/gsutil"
    entrypoint: "bash"
    args:
      - "-c"
      - |
        zip -r wordpress.zip . -x "*.git*"
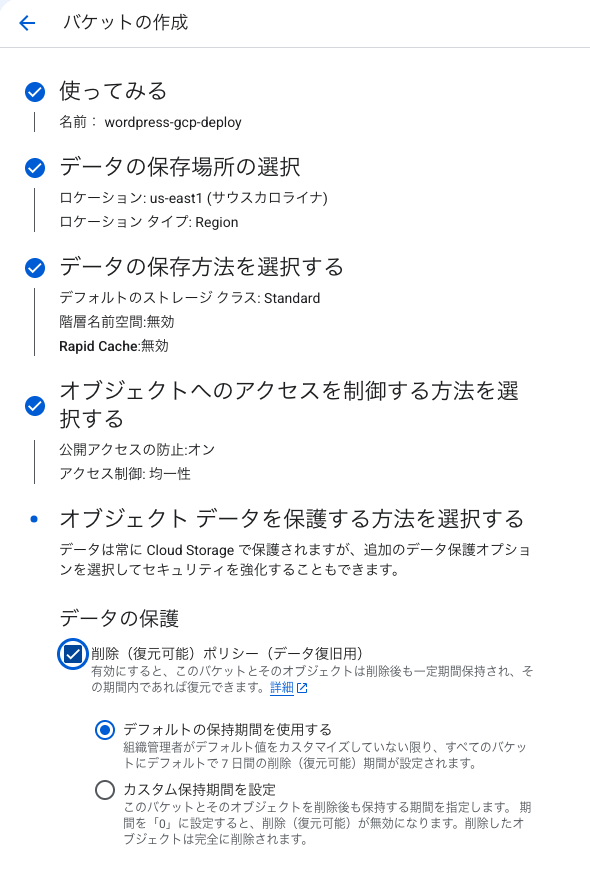
        gsutil cp wordpress.zip gs://<後に設定するCloud Storageバケット名>/wordpress.zip

  # VMにSSHしてzipを取得・展開
  - name: "gcr.io/google.com/cloudsdktool/cloud-sdk"
    entrypoint: "bash"
    args:
      - "-c"
      - |
        gcloud compute ssh <プロジェクトID>-compute@wordpress-vm \
          --zone=us-central1-a \
          --command="gsutil cp gs://<後に設定するCloud Storageバケット名>/wordpress.zip /tmp/ && sudo unzip -o /tmp/wordpress.zip -d /var/www/html/wordpress && sudo chown -R www-data:www-data /var/www/html/wordpress && sudo systemctl reload nginx php8.4-fpm"

options:
  logging: CLOUD_LOGGING_ONLY
Cloud BuildとGitHubの接続
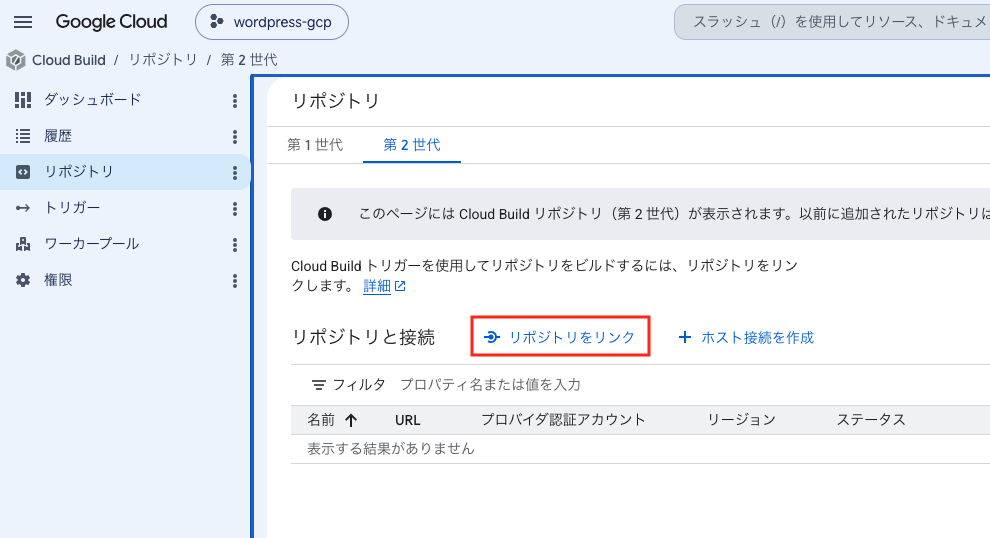
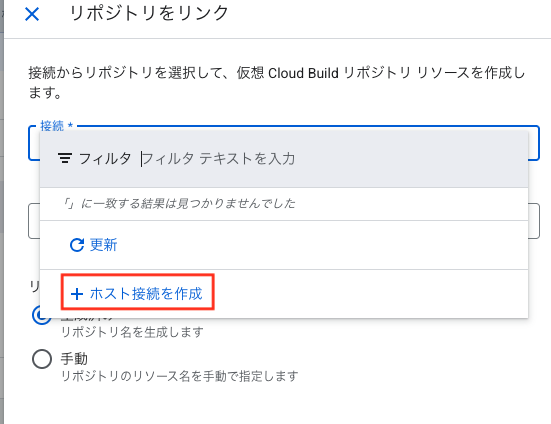
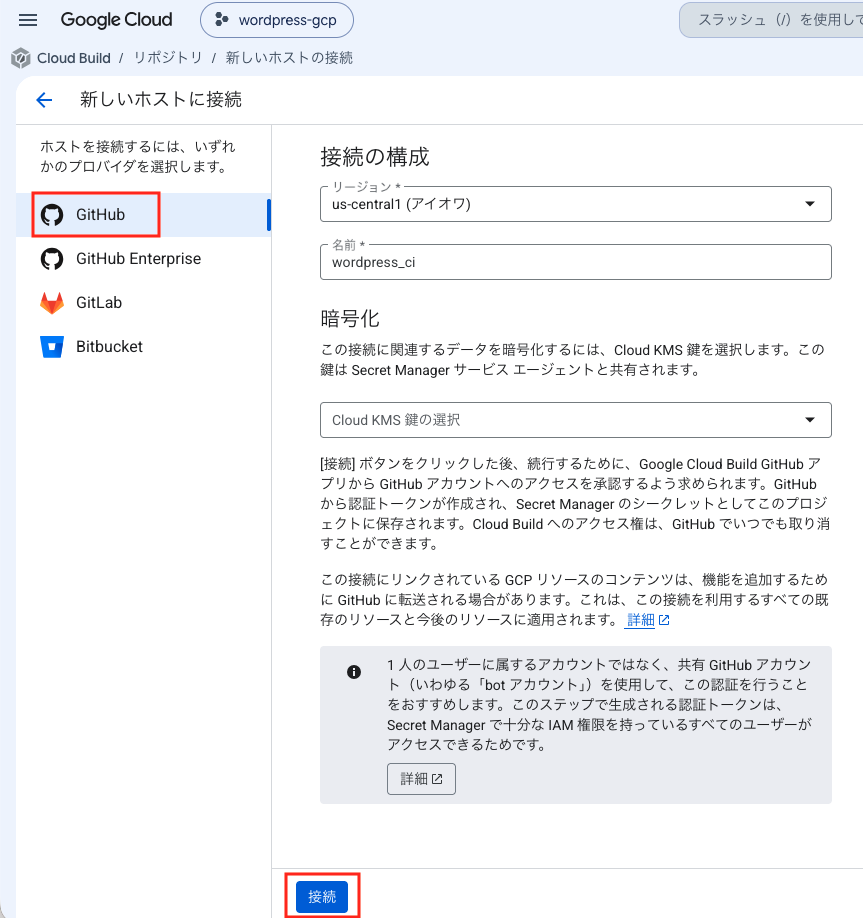
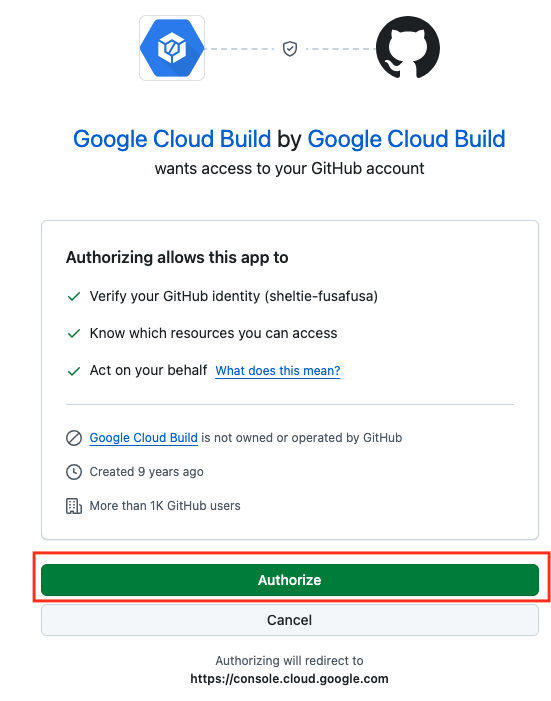
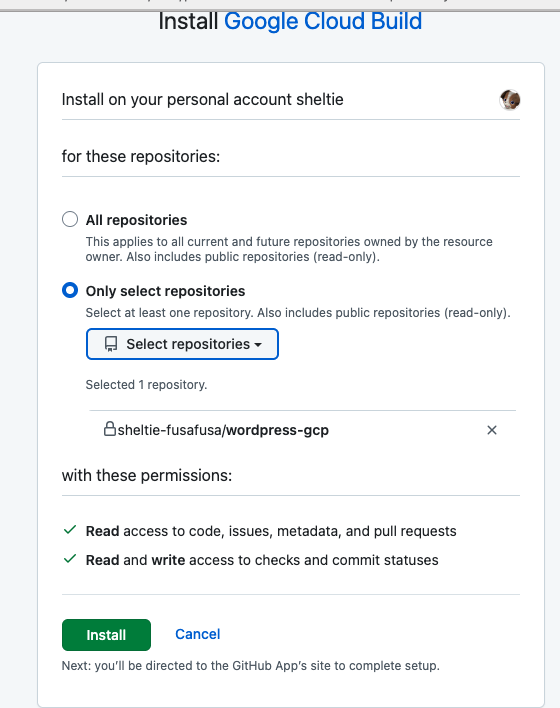
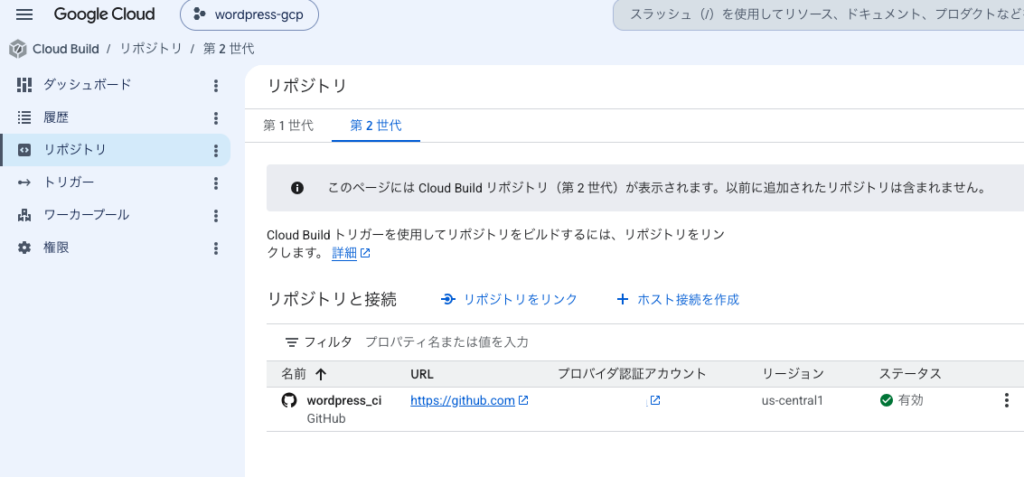
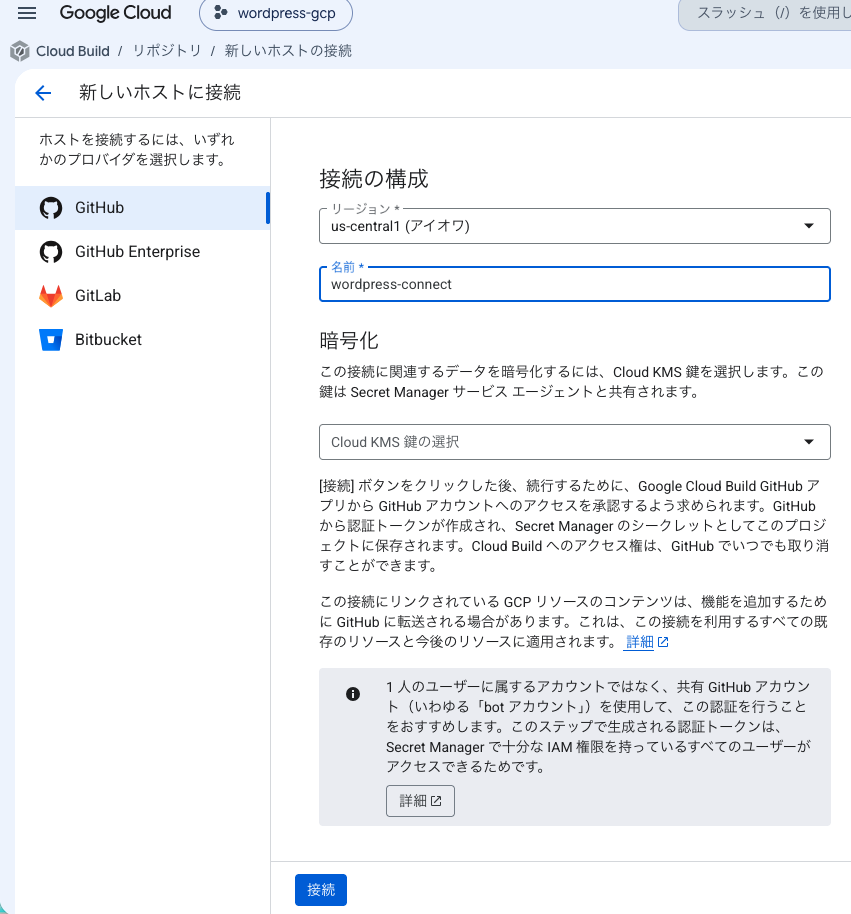
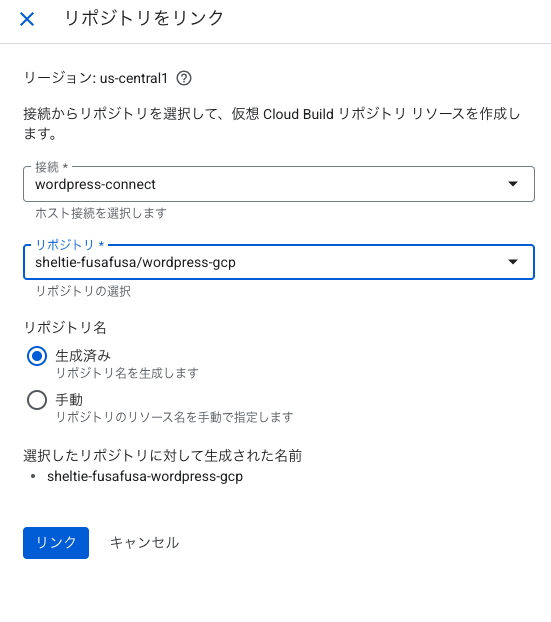
GCPとGitHubを接続します
第一世代、第二世代があるため、第二世代で作業を行いました
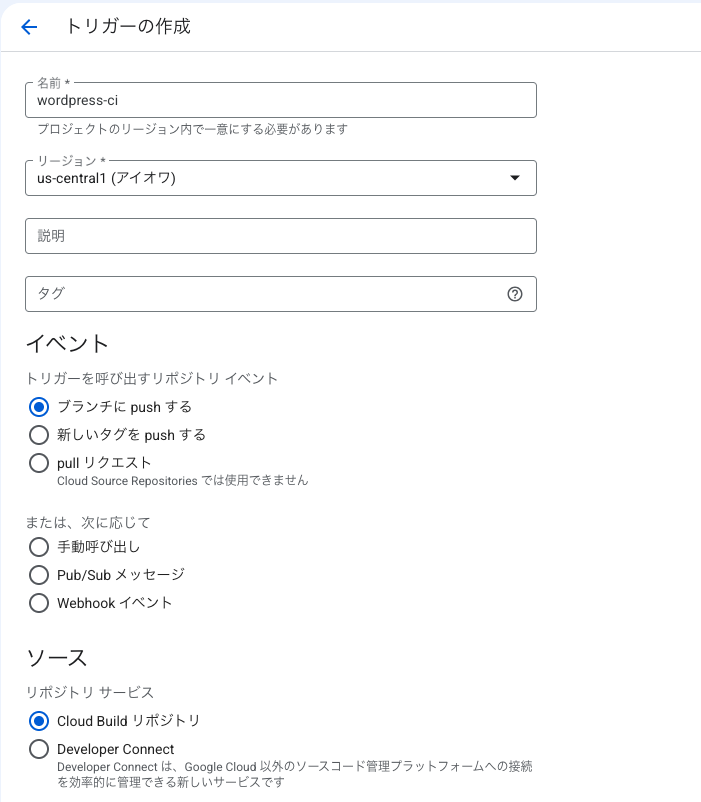
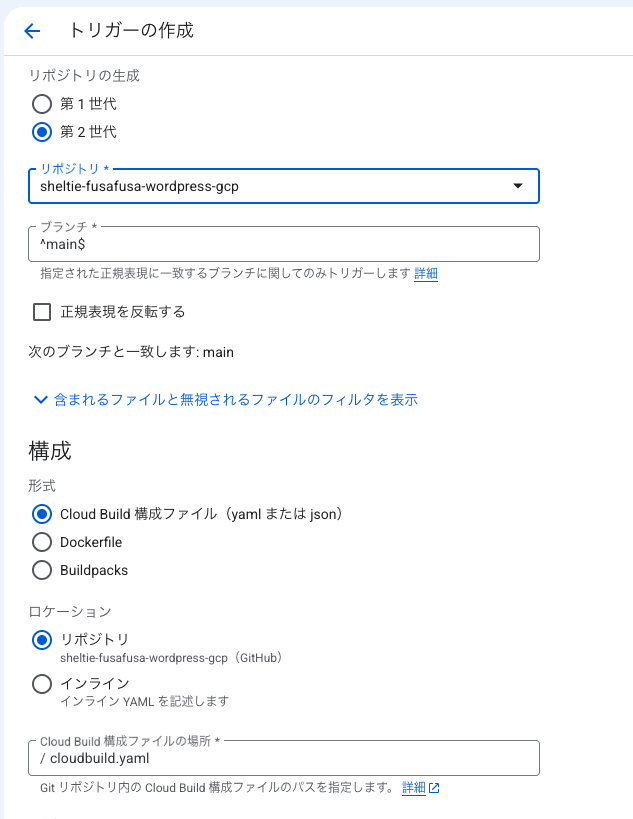
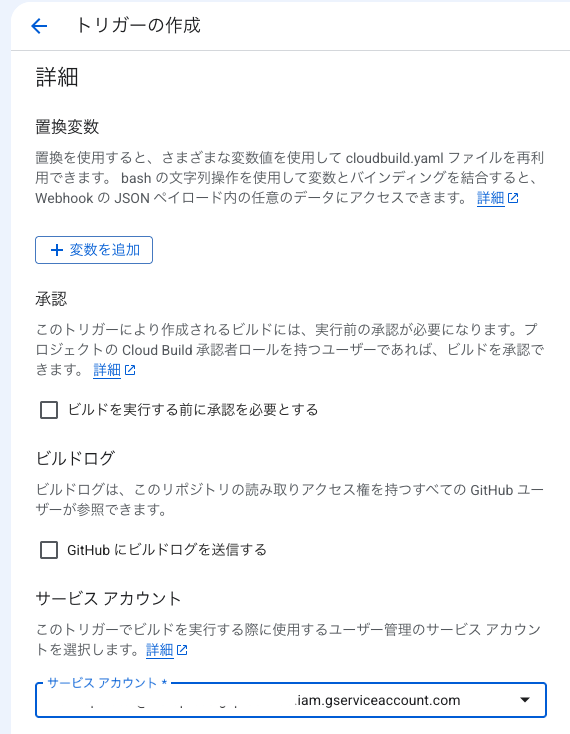
トリガー作成
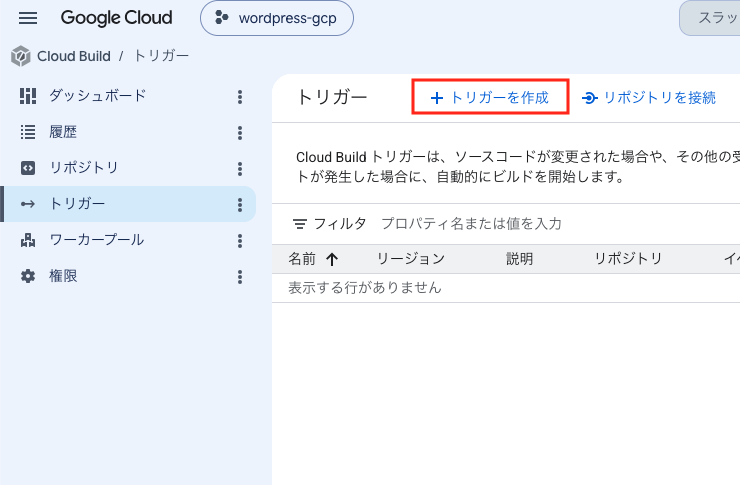
Cloud Buildが動作するトリガーを設定します
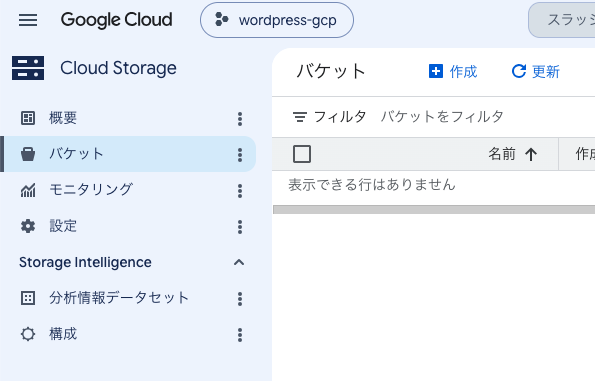
バケットの作成
ここまでの設定を行えば、GitへPushすることでGCP側で検知し、自動でWordpress再配置が動きます
終わりに
Cloud Buildを利用したCD環境構築の内容を紹介しました
AWSとGCP、どちらも似たような機能を備えていますが、利用してみて感じた印象は「GCPのほうがシンプルにまとめられている」ということです
例えば・・・
・AWSはCodeDeployを行うためにユーザーを作成したり、GitHub側にも設定が必要であったが、GCPでは不要
・AWSではCodeDeploy、GitHubActionの2種類の設定ファイルが必要だったが、GCPでは1種類のみ
・GCPのほうがGitHubリポジトリとの接続設定が容易
・AWSではCodeDeploy AgentをVMにインストールする必要があったが、GCPでは不要
となります
手順としても、GCPのほうが設定手順は短くまとめられています
以上
簡単にですがGCPを利用したCI環境を作成してみました
WordPressは、最初Zip圧縮せずファイル転送していましたが、ファイル数が多すぎて30分近く経ってもビルドが終わらなかったため、zip圧縮化してから転送するようにしました
(そのためVMにあらかじめunzipコマンドをインストールしておく必要があります)